Wireless Projection with Epson iProjection
Table of Contents
Product: Epson iProjection software
Audience: Staff in classrooms with a networked Epson brand projector
Overview
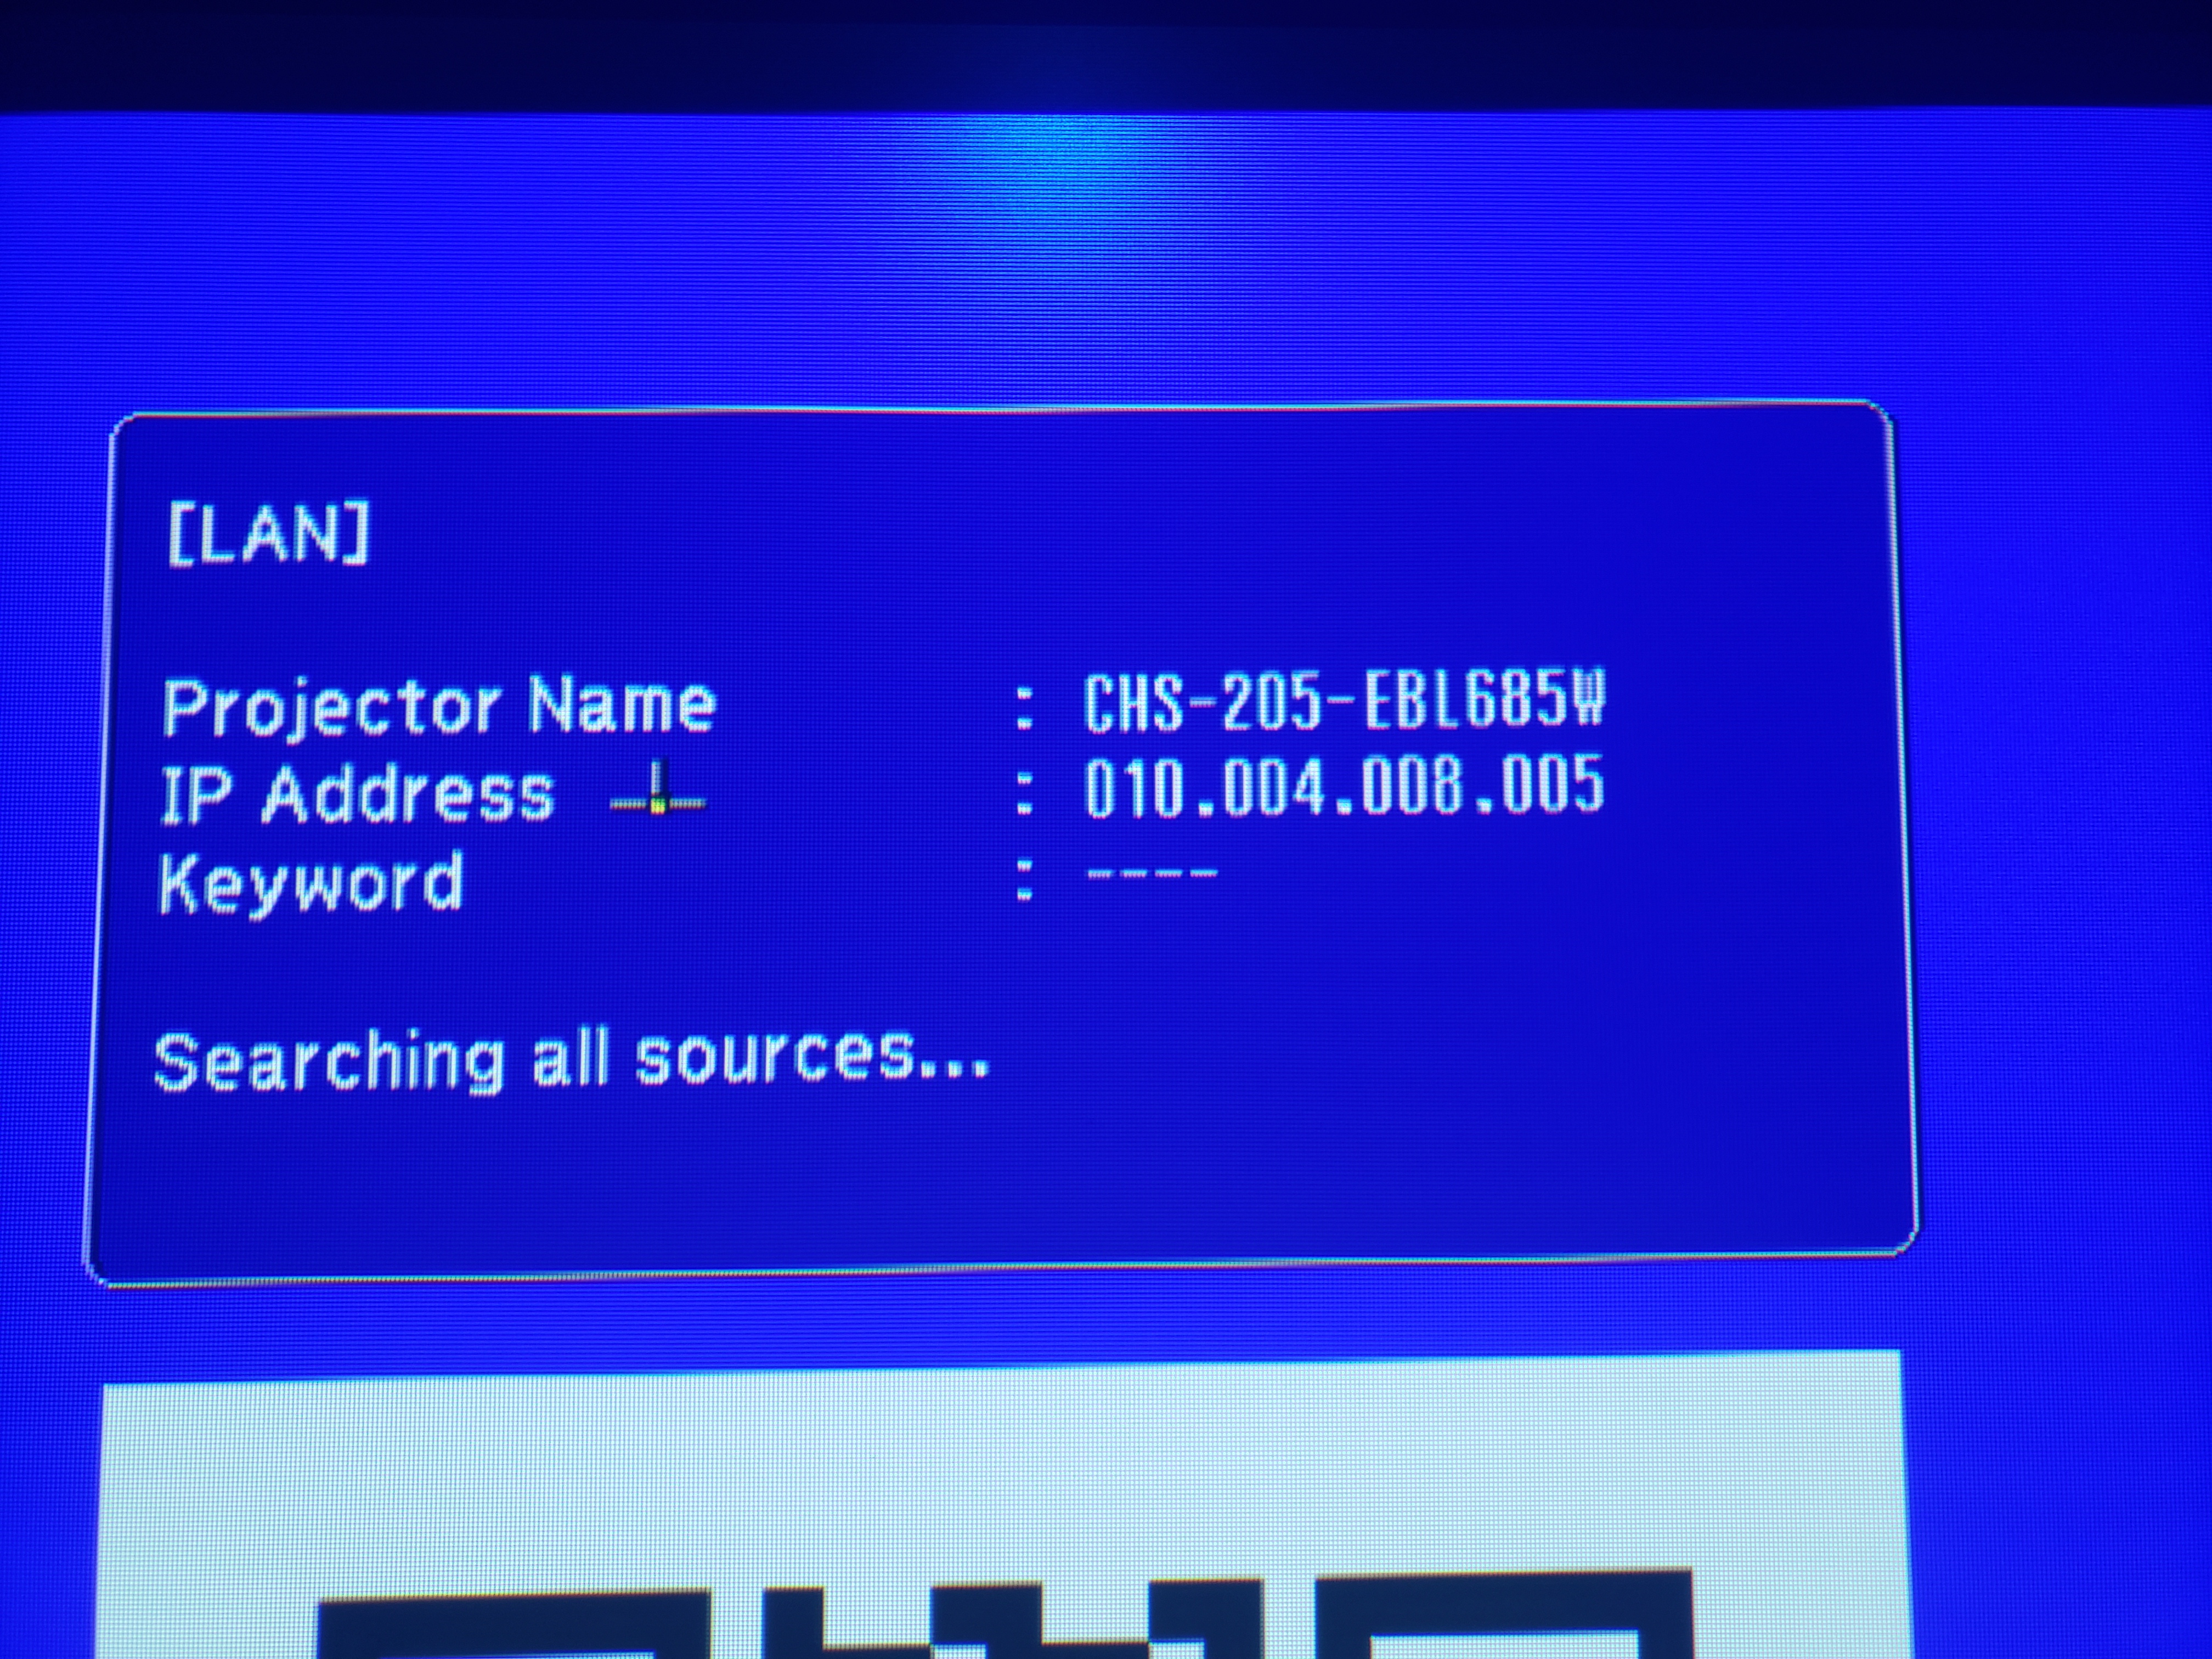
This article will help you wirelessly connect to your Epson projector without using an HDMI cable. Your projector must be networked (connected to the internet) for this software to work. To see if this applies to your projector, contact your SPOC or press the “LAN” button on your projector remote and look for an IP address that starts with “10.x.x.x”. If you see a different number, your projector is not networked and iProjection will not work.
Tools/Equipment Needed
- Networked Epson brand projector
- Computer
- Internet connection
Installing iProjection
Choose your device type from the list below for installation instructions
Windows/Mac Computers
- Download iProjection and open the installation file
Windows Version Macbook Version
- Follow the installation dialog- when the program asks about the “Application Installation Type” be sure to choose “Standard Edition”
- On MacBooks, you may be asked to open the Security Preferences to allow certain features. Be sure to follow these instructions and contact your building SPOC if you have questions.
- Once the application has been installed, it's recommended that you reboot your computer.
Staff Chromebooks
- Add the iProjection extension to Chrome from the Webstore
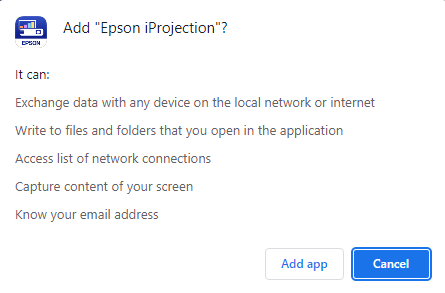
- In the Chrome pop-up, click “Add app” to agree to the terms

- Launch the app
Other Devices
iProjection is also supported on Android and IOS devices. Navigate to the Epson iProjection website to view full setup and usage instructions.
Connecting to your projector
- Open the iProjection App
Initial Settings
If a pop-up appears prompting you to select the “Connection Mode”, be sure to choose “Advanced Connection Mode” and click the checkbox to default to this setting in the future
On Macbooks, you may see additional pop-ups asking you to confirm other security settings. Be sure to allow all or iProjection may not function correctly.
- Turn on the projector and press the “LAN” button on your remote. You will see a “Projector Name” listed at the top of this screen.

- in the iProjection app, click on “Manual Search” in the left column and type the projector name into the search bar. Your projector should be listed as “Standby” if it is turned on and ready to connect.
Saving a Projector
To save this projector to your profile for quick access in the future, right-click on the projector name and select “Add Item to Profile”. The projector name will now appear in the list on the left side of the screen when you open the app.
- To connect to your projector, click the checkmark to the left of the “Standby” line and select “Join” at the bottom of the window.
Conclusion
For instructional/pedagogical questions, please contact your Building Administrator or Student Growth & Experience (SG&E) Level Coordinator.
For technical questions, please contact your building SPOC.
